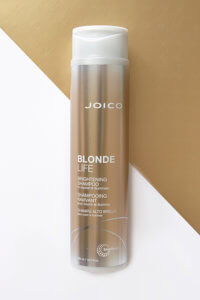

“when I first met Allie, I really considered her lifestyle, the condition of her hair, and her goals for going blonde. Considering how much hair she had and how light she wanted to be, I knew my only answer to maintain the integrity of the hair while lifting was to use JOICO Blonde Life. After she processed and was finished, her hair felt better after than before.” Olivia Smalley
Prep Treatment – Defy Damage ProSeries 1: Bond-Protecting Color Optimizer
Formula 1 – Blonde Life Lightening Powder with 5 Volume LumiShine Developer
Formula 2 – Blonde Life Crème Lightener with 10 Volume LumiShine Developer
Formula 3 – (Shadow Root) LumiShine Demi-Permanent DD Crème 6N with 5 Volume LumiShine Developer
Formula 4 – (Toner) LumiShine Demi-Permanent Liquid 10NG+ 10NWB with 5 Volume LumiShine Developer
Post Treatment – Defy Damage ProSeries 2: Bond-Strengthening Color Treatment
STEP-BY-STEP
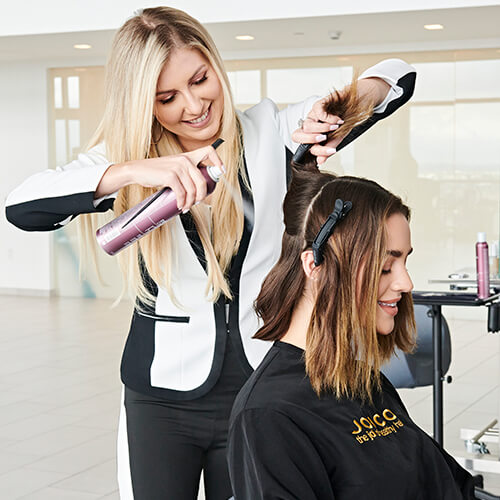
STEP 1:
Prep with Defy Damage ProSeries 1. Shake the can vigorously and then spray in short bursts to 2-inch sections and comb for even distribution.
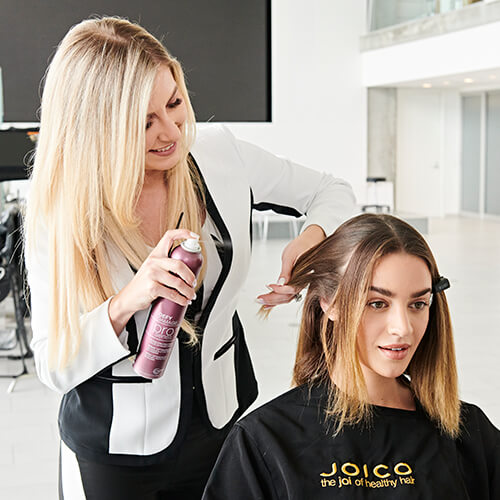
STEP 2:
For client comfort, direct the hair and spray away from the face.
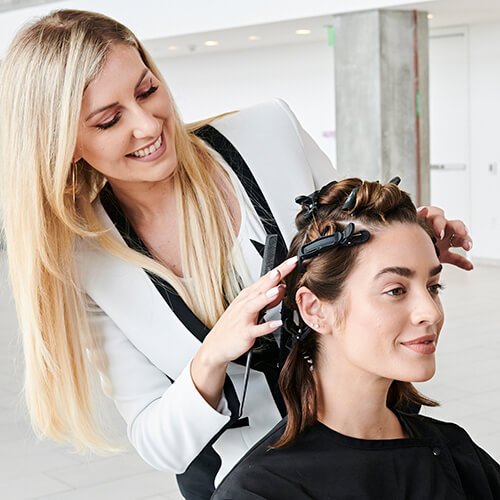
STEP 3:
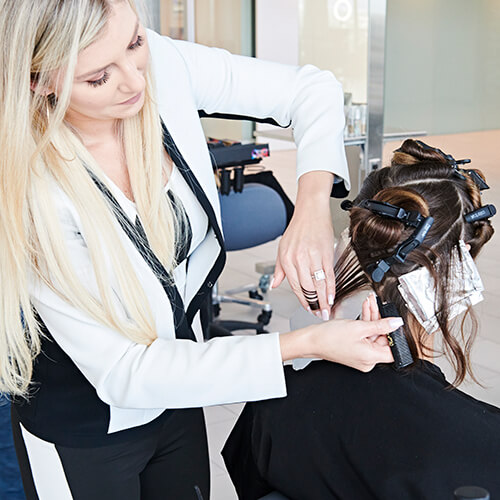
Section the hair into 4 sections. Create a horseshoe section at the top from the corner of the brows that extends to a point at the crown. Section each side from behind the ear forward off the horseshoe.
STEP 4:
Starting on a diagonal that mimics the client’s hair line, take a diagonal weave parting and apply Formula 1 feathering at the root.
Tip: Using the clients hair lines is a great way to customize and tailor fit your color to your client.
STEP 5:
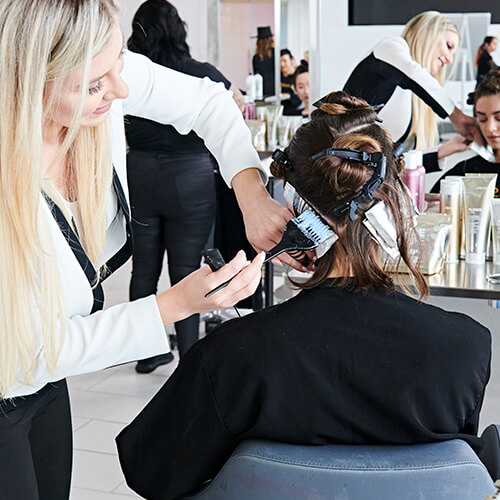
Continue to take weave partings around the hairline. The amount of foils you add and amount of hair left in between each foil will determine the amount of blonding in your end results. A full client consultation every time, between you and your client, should determine the clients desired end results.
STEP 6:
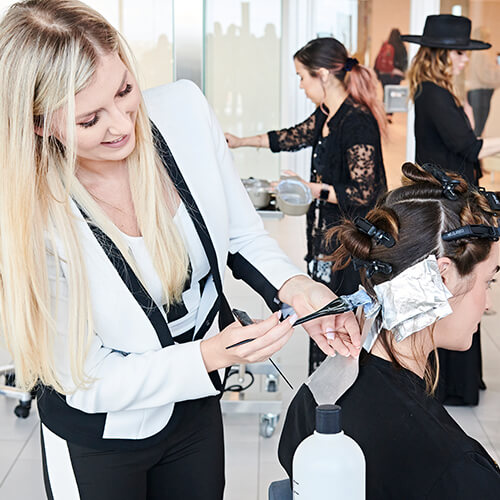
Continue to take weave partings using the hairline diagonal partings as a guide to work up the back section.
STEP 7:
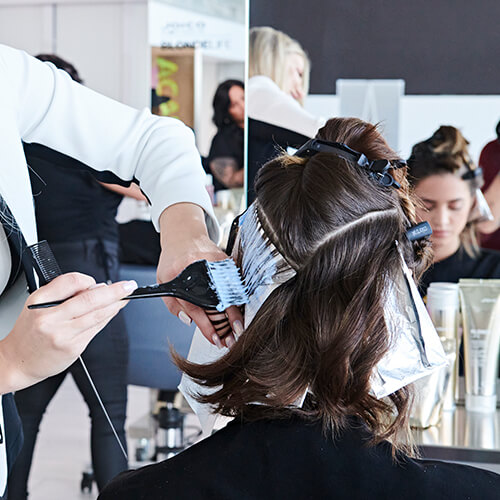
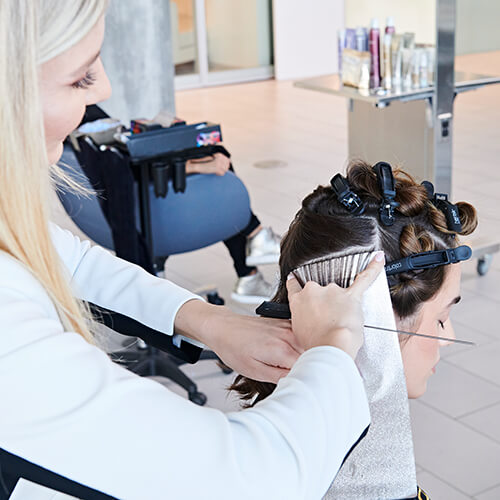
The amount of hair in your section should be based on the clients hair type and desired results. If you take too thick of a section, you run the possibility of not being able to fully saturate the hair. As a guide, your sections should be fine enough to read through it.
STEP 8:
Continue working up the head to complete the back section. As a tip; after you place your foil under your parting, use your pinky and pointer finger to secure the section and hold the hair taut.

STEP 9:
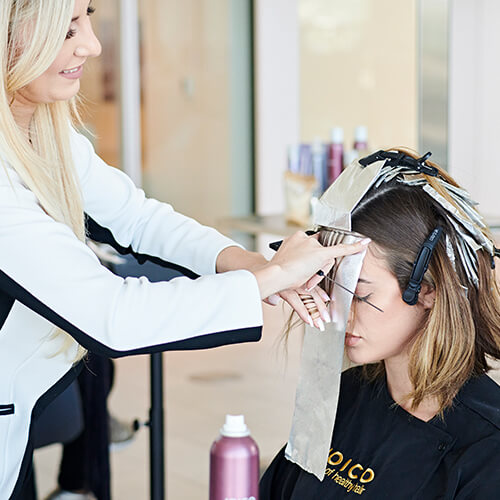
Starting in the front hair line in the top section, take fine weave partings and apply Formula 1.
STEP 10:
Continue working from the hair line towards the back. Using the hairline as a guide ensures brightness around the face and tailor fits the color to the client. Continue until the entire application is complete. Take your Formula 2 and apply in a balayage manner to some of the mids and ends that are left out of the foils to add more brightness on the ends. Process until you reach a level 9 pale yellow.
STEP 11:
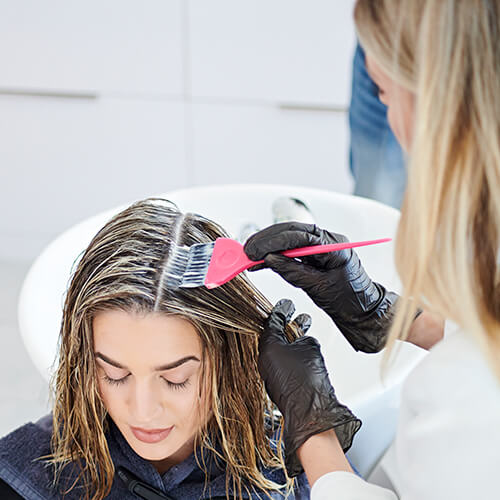
Rinse and shampoo with Blonde Life Brightening Shampoo. Towel dry the hair and comb for accuracy. Apply Formula 3, the shadow root formula, throughout the base of the head. How deep you take it will determine your depth outcome.
STEP 12:
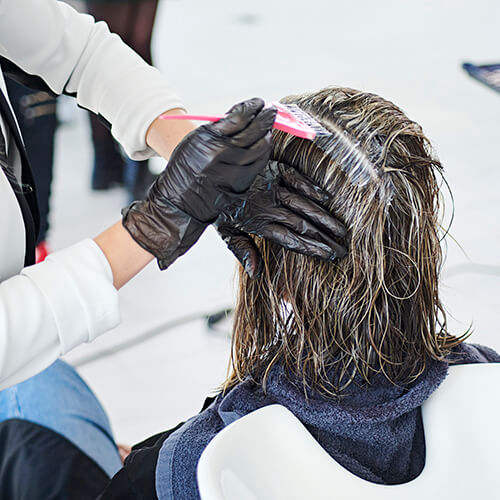
Applying your shadow root at the bowl is a way to save time. Make sure to comb the hair and detangle before applying to maintain accuracy. Applying your shadow root formula in a diagonal application will help your shadow root blend easier.

STEP 13:
Apply Formula 4 throughout the mids and ends of the hair. Process until desired end results are achieved. Shampoo with Blonde Life Protective Shampoo. Apply Defy Damage ProSeries 2 for 5 minutes. Rinse and style with your favorite JOICO Stylers.


